Garlics in Anchorsholme
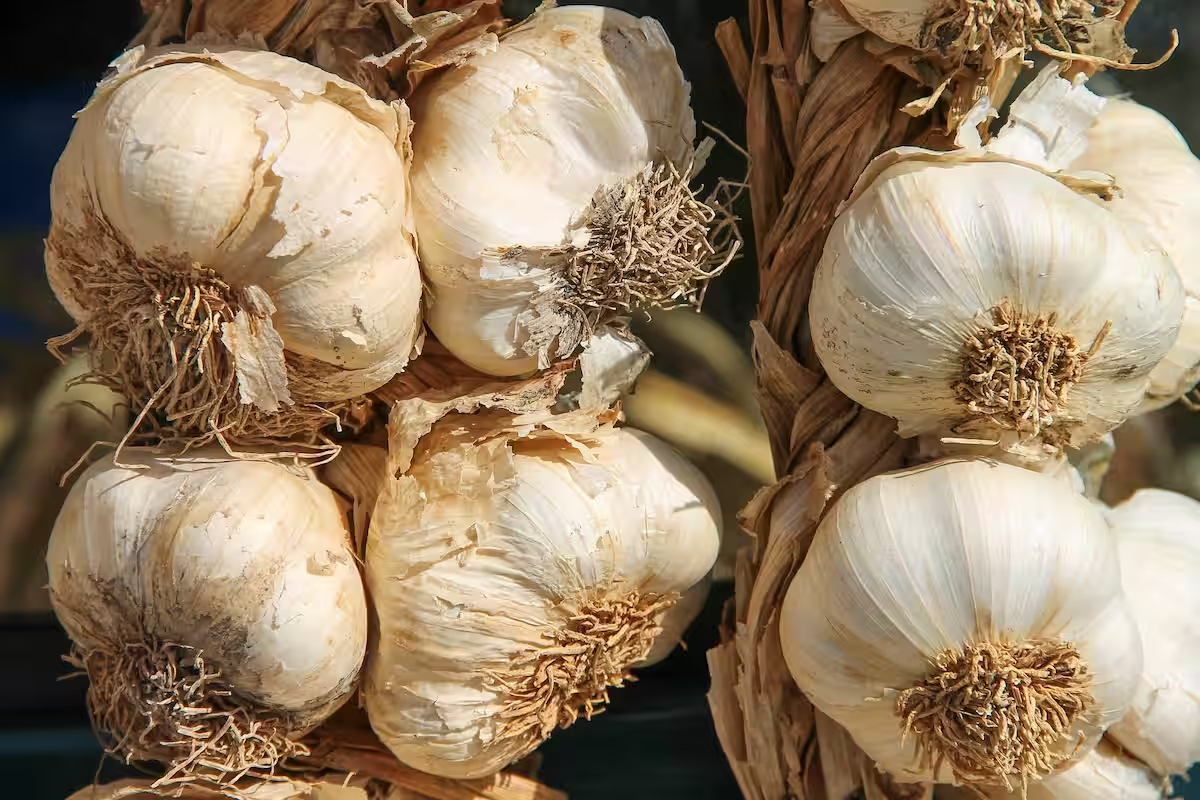
Allium sativum
Garlic is a hardy, sun-loving bulbous vegetable from the onion family, grown for its pungent cloves used in cooking. It’s easy to grow in a warm, well-drained spot and needs minimal fuss – plant individual cloves and they will develop into full bulbs by the following summer. Most garlic varieties require a cold spell over winter to form good bulbs, so in the UK they are generally planted in autumn. There are two main types of garlic: hardneck and softneck. Hardneck types produce flower stalks (scapes) which should be removed, and their bulbs have fewer but larger cloves (they store for around 4–6 months). Softneck types have more, smaller cloves and rarely bolt; they also store for longer, often up to a year.
Growing Guide
Step-by-step instructions for growing Garlic
Planting Calendar
Growing Guide for
Change the guide to see different planting timelines and tips.
Plant garlic cloves in autumn for a robust summer harvest. This method yields larger bulbs as the plants establish roots over winter.
1 Prepare Soil
Ensure the soil is well-draining to prevent winter rot. Dig in compost or well-rotted manure to improve structure, ideally 14th November - 28th November. Work the soil to a fine tilth and remove any weeds.
2 Plant Cloves
Plant individual cloves with the tips just showing above the soil, spaced apart in rows apart. Firm the soil gently around them to eliminate air pockets. This is best done 14th November - 28th November.
3 Weed and Mulch
Keep the area weed-free, as garlic competes poorly for light and nutrients. Apply a mulch of straw or compost to suppress weeds and retain moisture. Do this 28th November - 5th December after planting.
4 Remove Scapes
If growing hardneck varieties, snap off the curly flower scapes in late spring to direct energy into bulb growth. Do this 20th May - 19th June when scapes appear.
5 Harvest Bulbs
Lift bulbs when the foliage starts to yellow and fall over, typically 19th July - 18th August. Use a fork to loosen the soil and avoid damaging the bulbs.
6 Cure and Store
Dry the harvested bulbs in a well-ventilated, shaded spot for 2–3 weeks until the skins are papery. Trim the roots and foliage before storing in a cool, dry place. Start curing 3rd August - 10th August after harvest.
Companion Plants
Plants that grow well (or poorly) with Garlic
Why Companion Planting Matters
Companion planting can help deter pests, improve pollination, enhance growth, and maximize garden space. Some plants release chemicals that repel pests or attract beneficial insects, while others can improve soil quality or provide shade for sensitive plants.
Suggested Varieties
Popular varieties of Garlic to consider
Solent Wight
A softneck variety with a strong flavour, excellent for storing and well-suited to UK climates.
Purple Wight
A hardneck variety with purple-striped skin and a milder taste, ideal for autumn planting.
Cristo
A softneck variety known for its large bulbs and good resistance to rust, suitable for spring planting.
Related Plants
Explore similar plants you might like
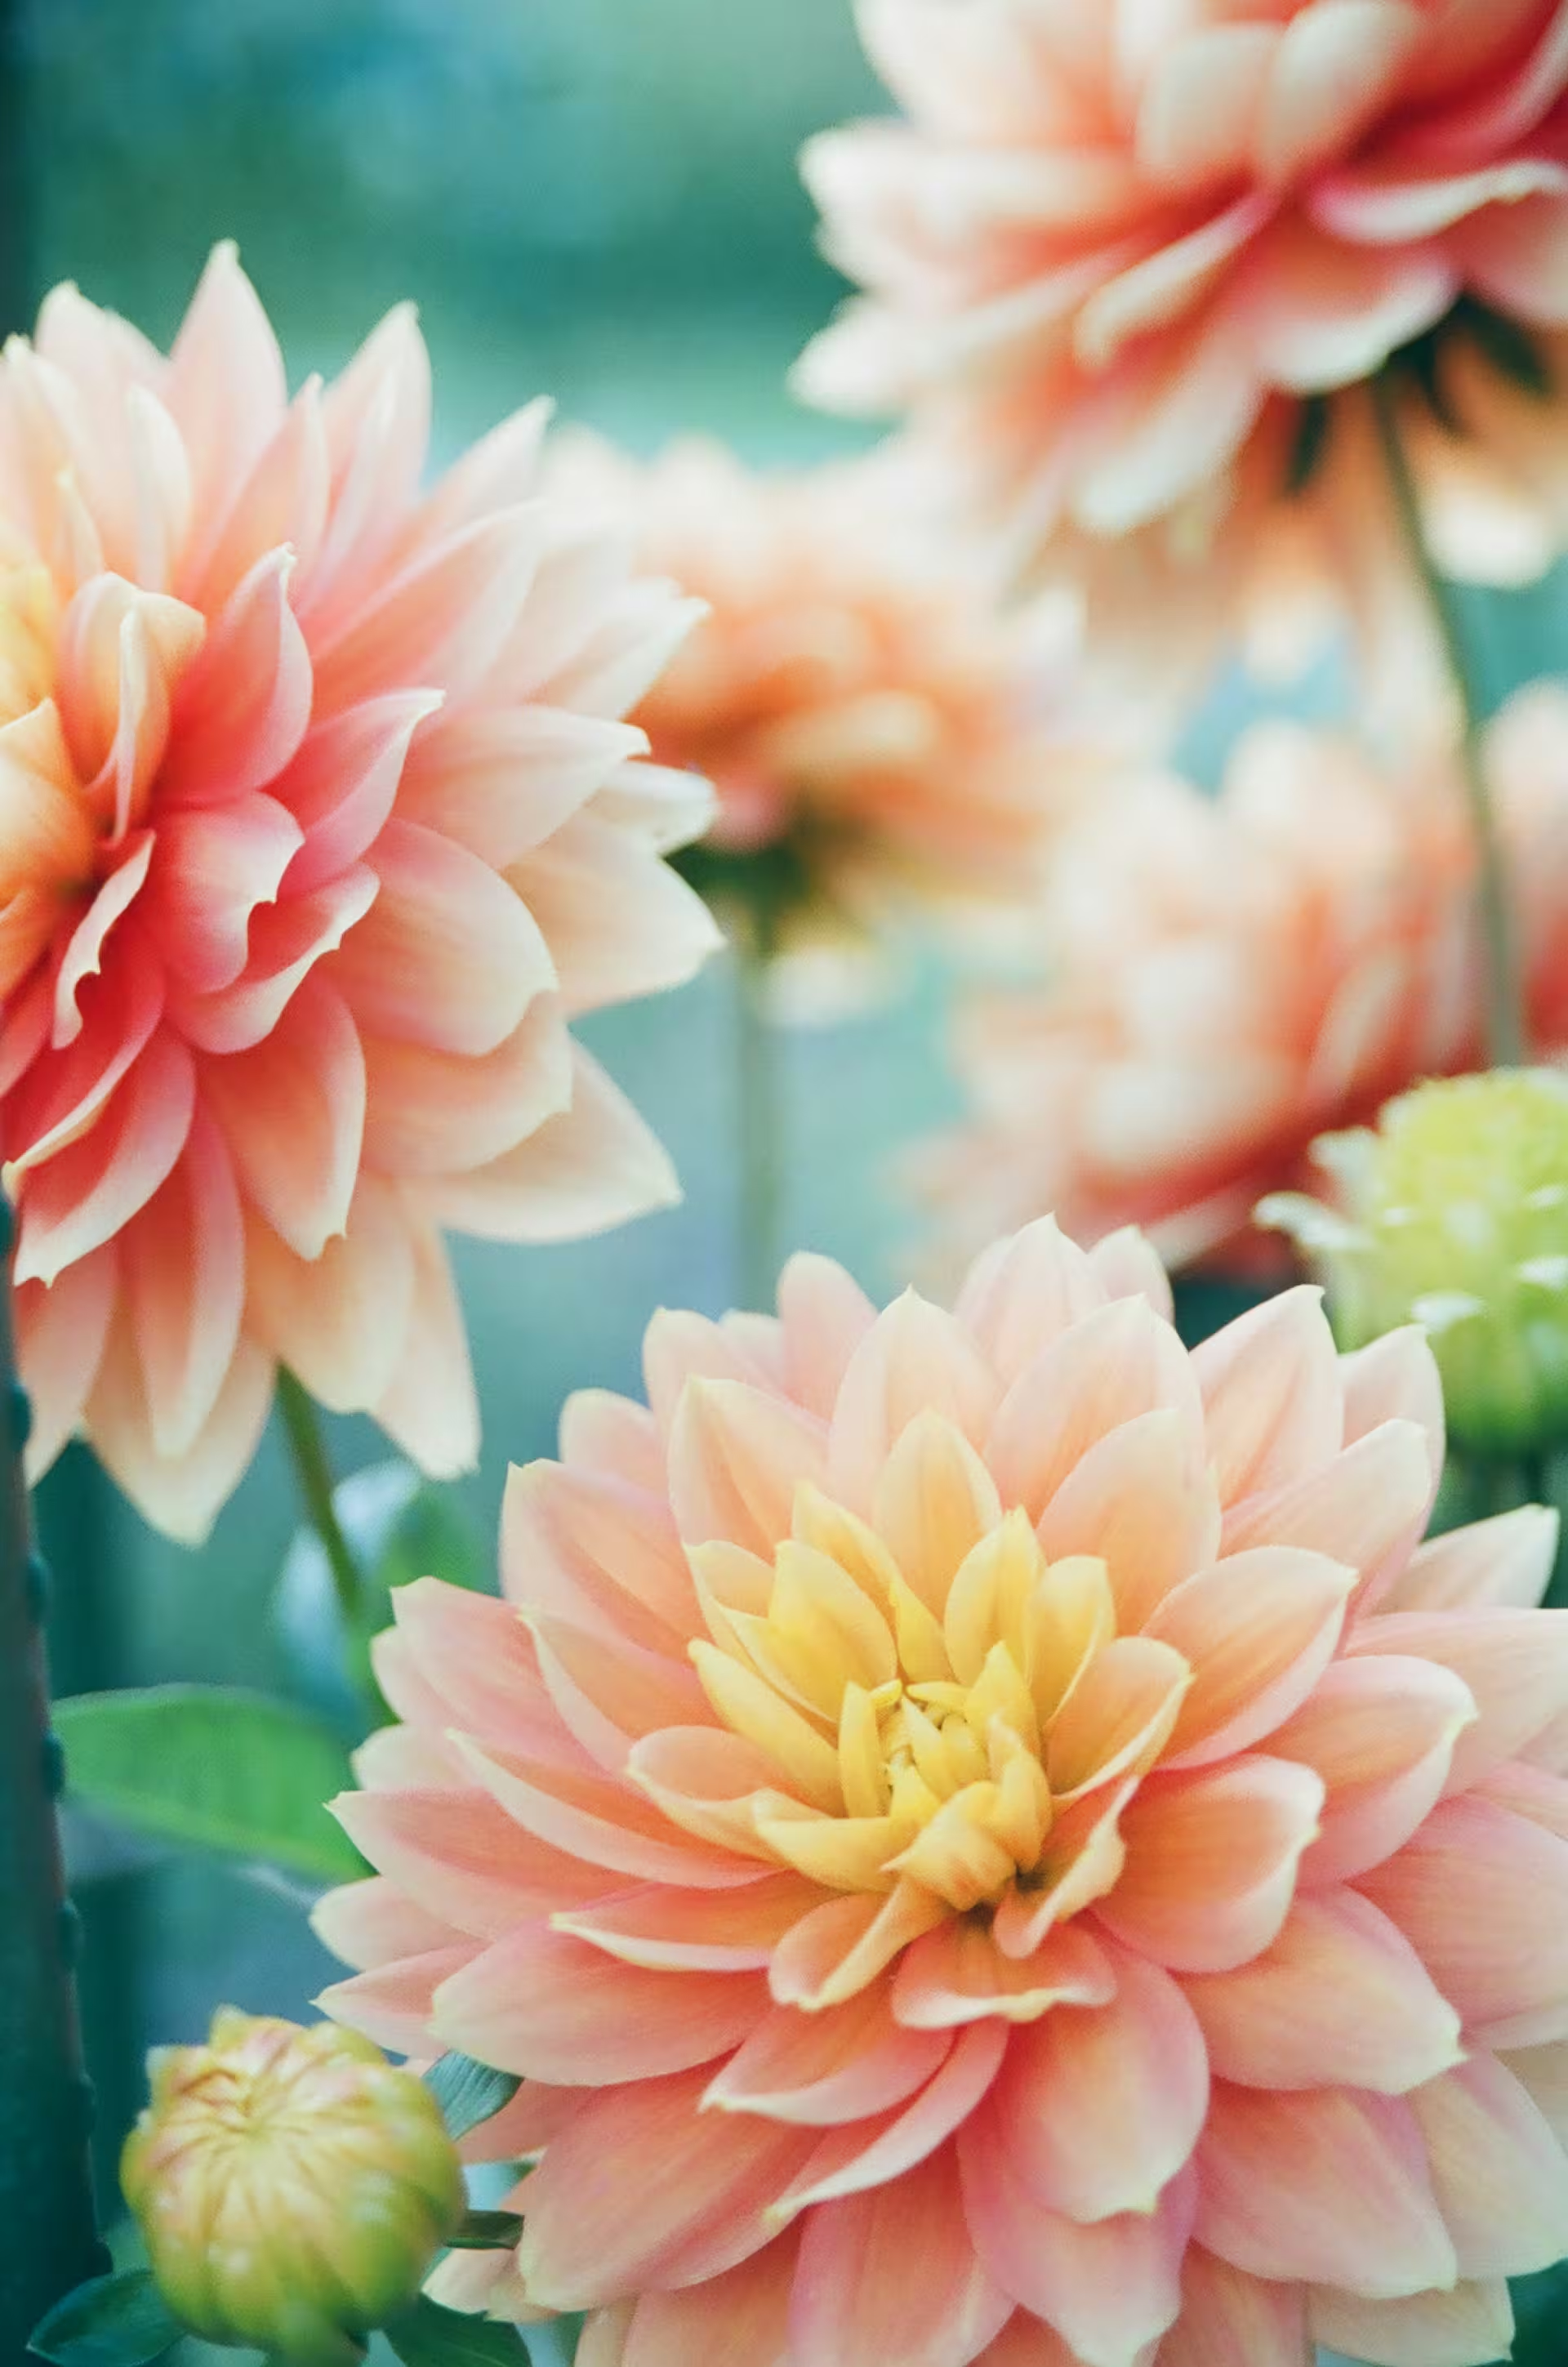
Dahlia
Show-stopping tuberous perennials that provide a spectacular display of colour from mid-summer right up until the first frosts. Ranging from enormous 'dinner plate' blooms to intricate pompoms and open-centred varieties that bees adore, they are a staple of the late summer UK garden.
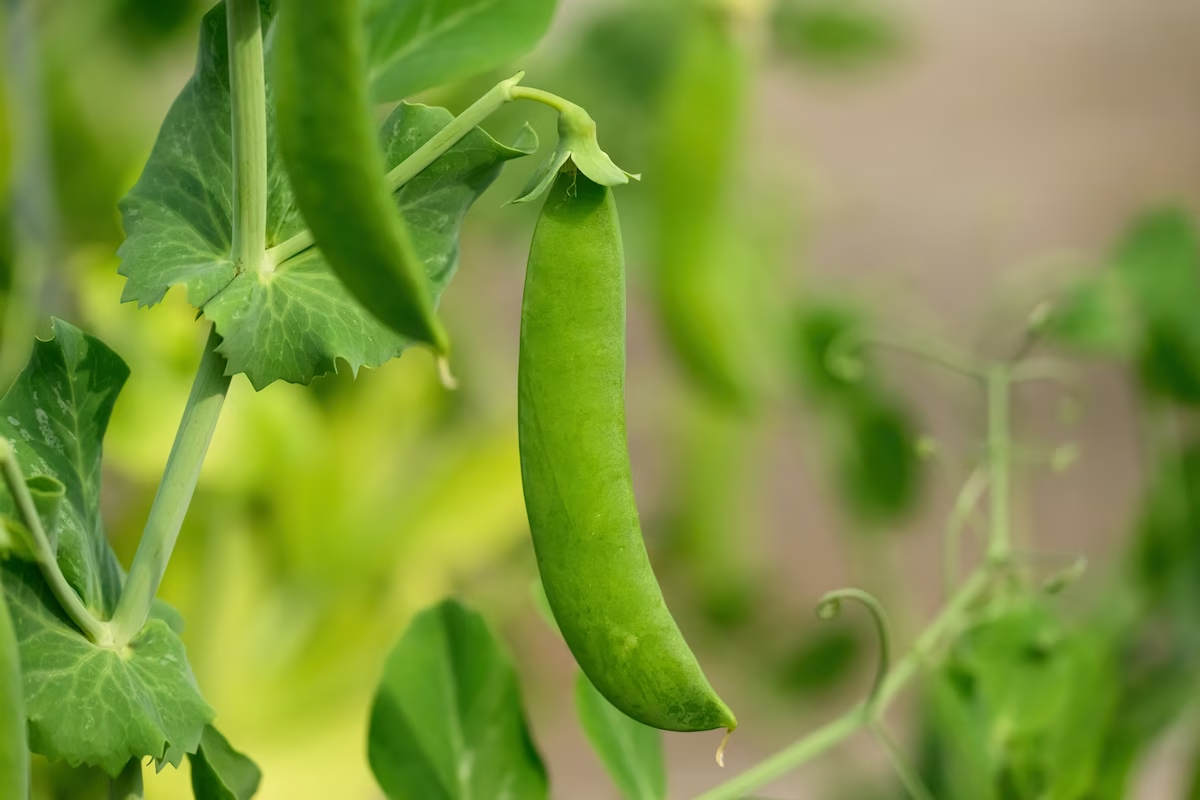
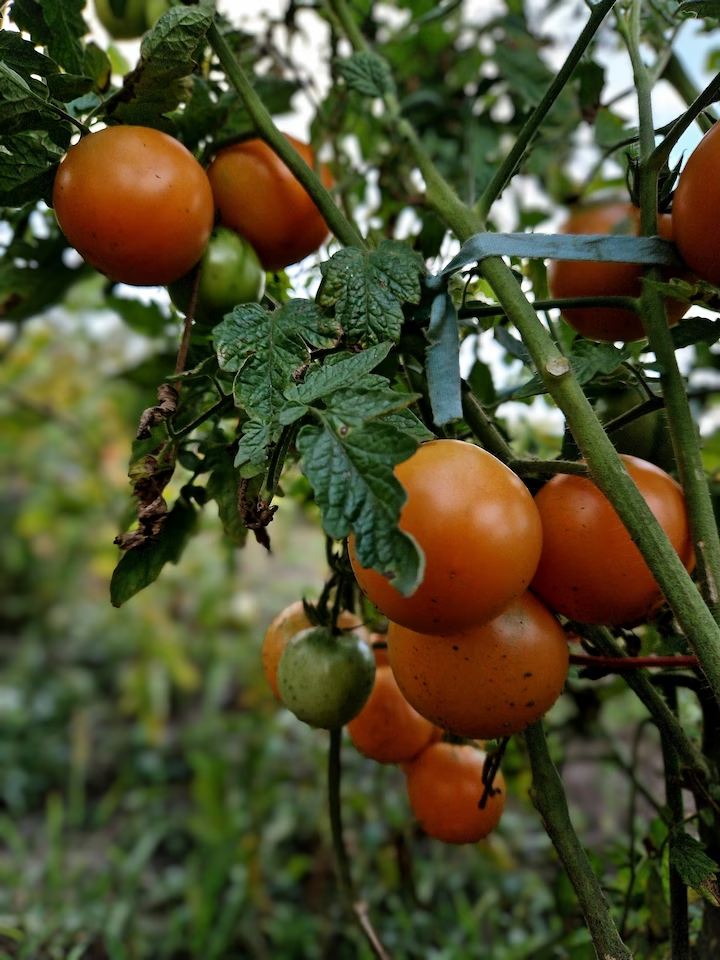
Peas
A cool-season legume grown for its sweet pods or shelling peas. In the UK, peas thrive in early spring and autumn, needing support and protection from pests like mice and pigeons.
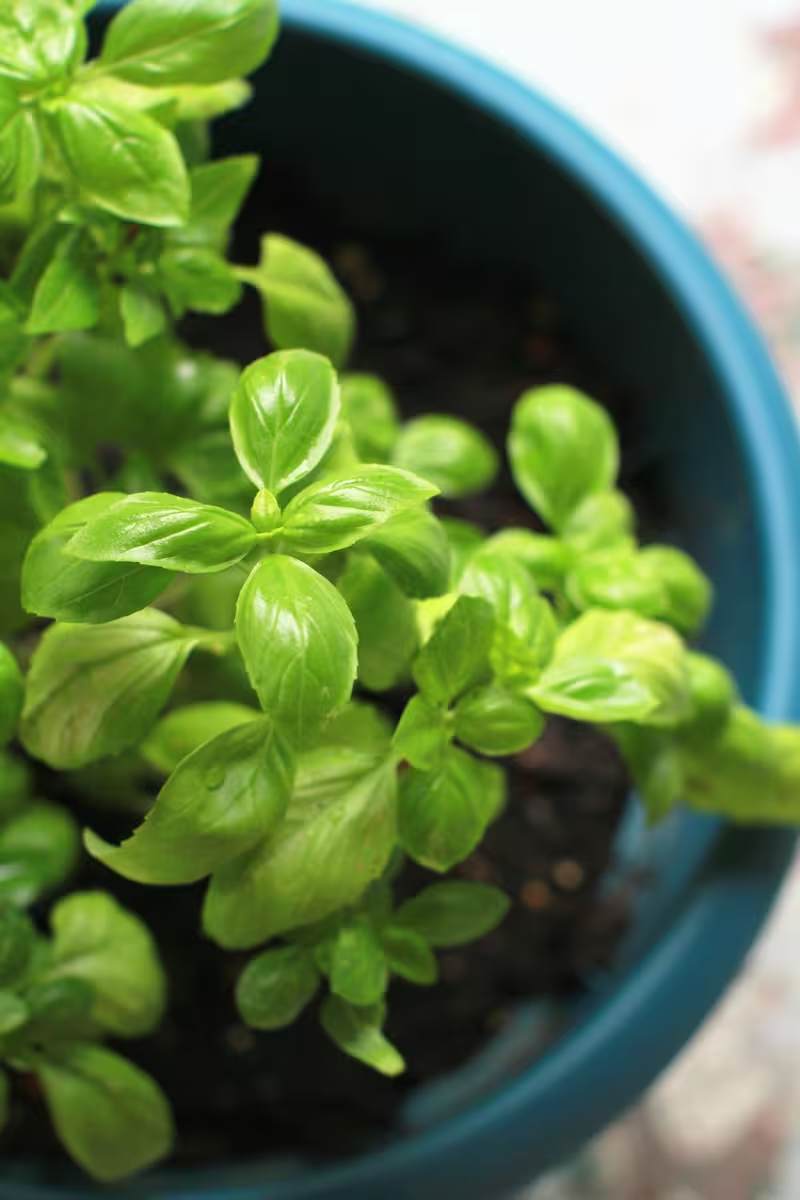
Basil
Basil is a fragrant, tender herb whose leaves are a staple of summer cooking. Native to tropical regions, basil is treated as an annual in temperate climates like the UK because it cannot tolerate frost. It thrives in warm, sunny conditions and can be grown in garden beds or pots for a steady supply of fresh, flavourful leaves throughout the summer.