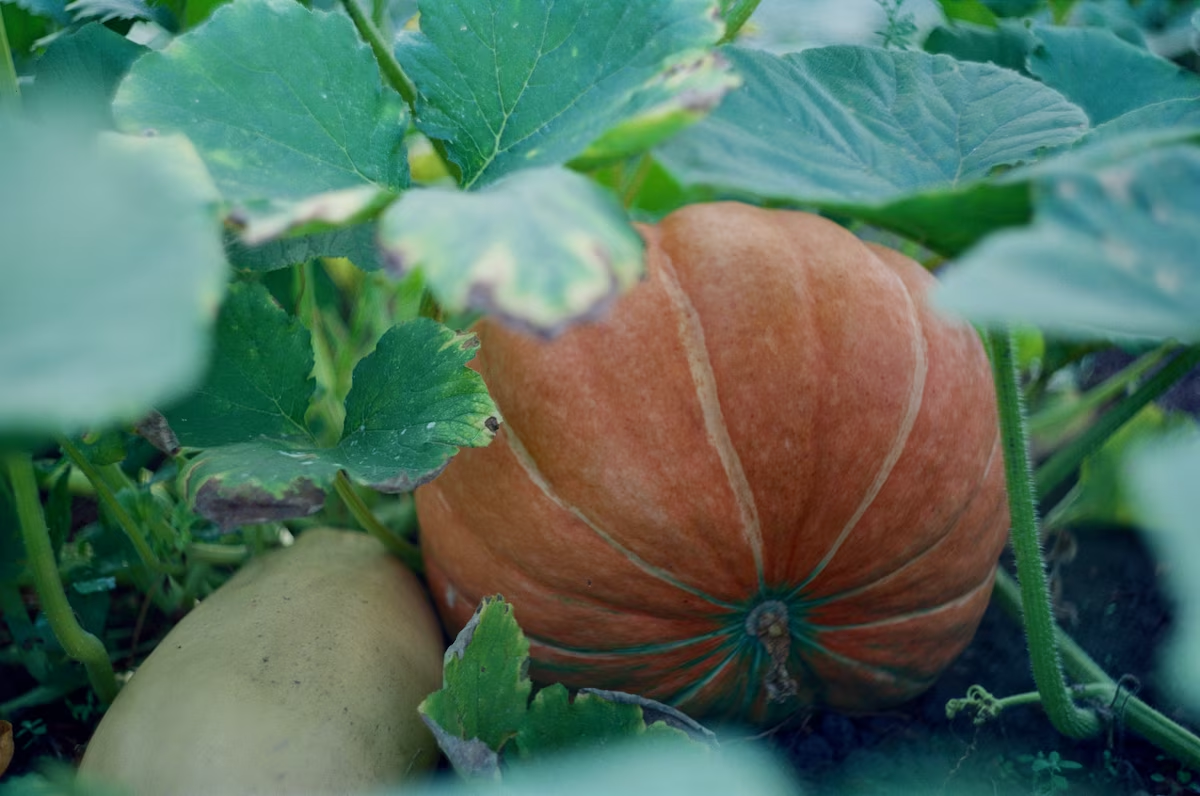
Pumpkins in Acton Round
Cucurbita pepo
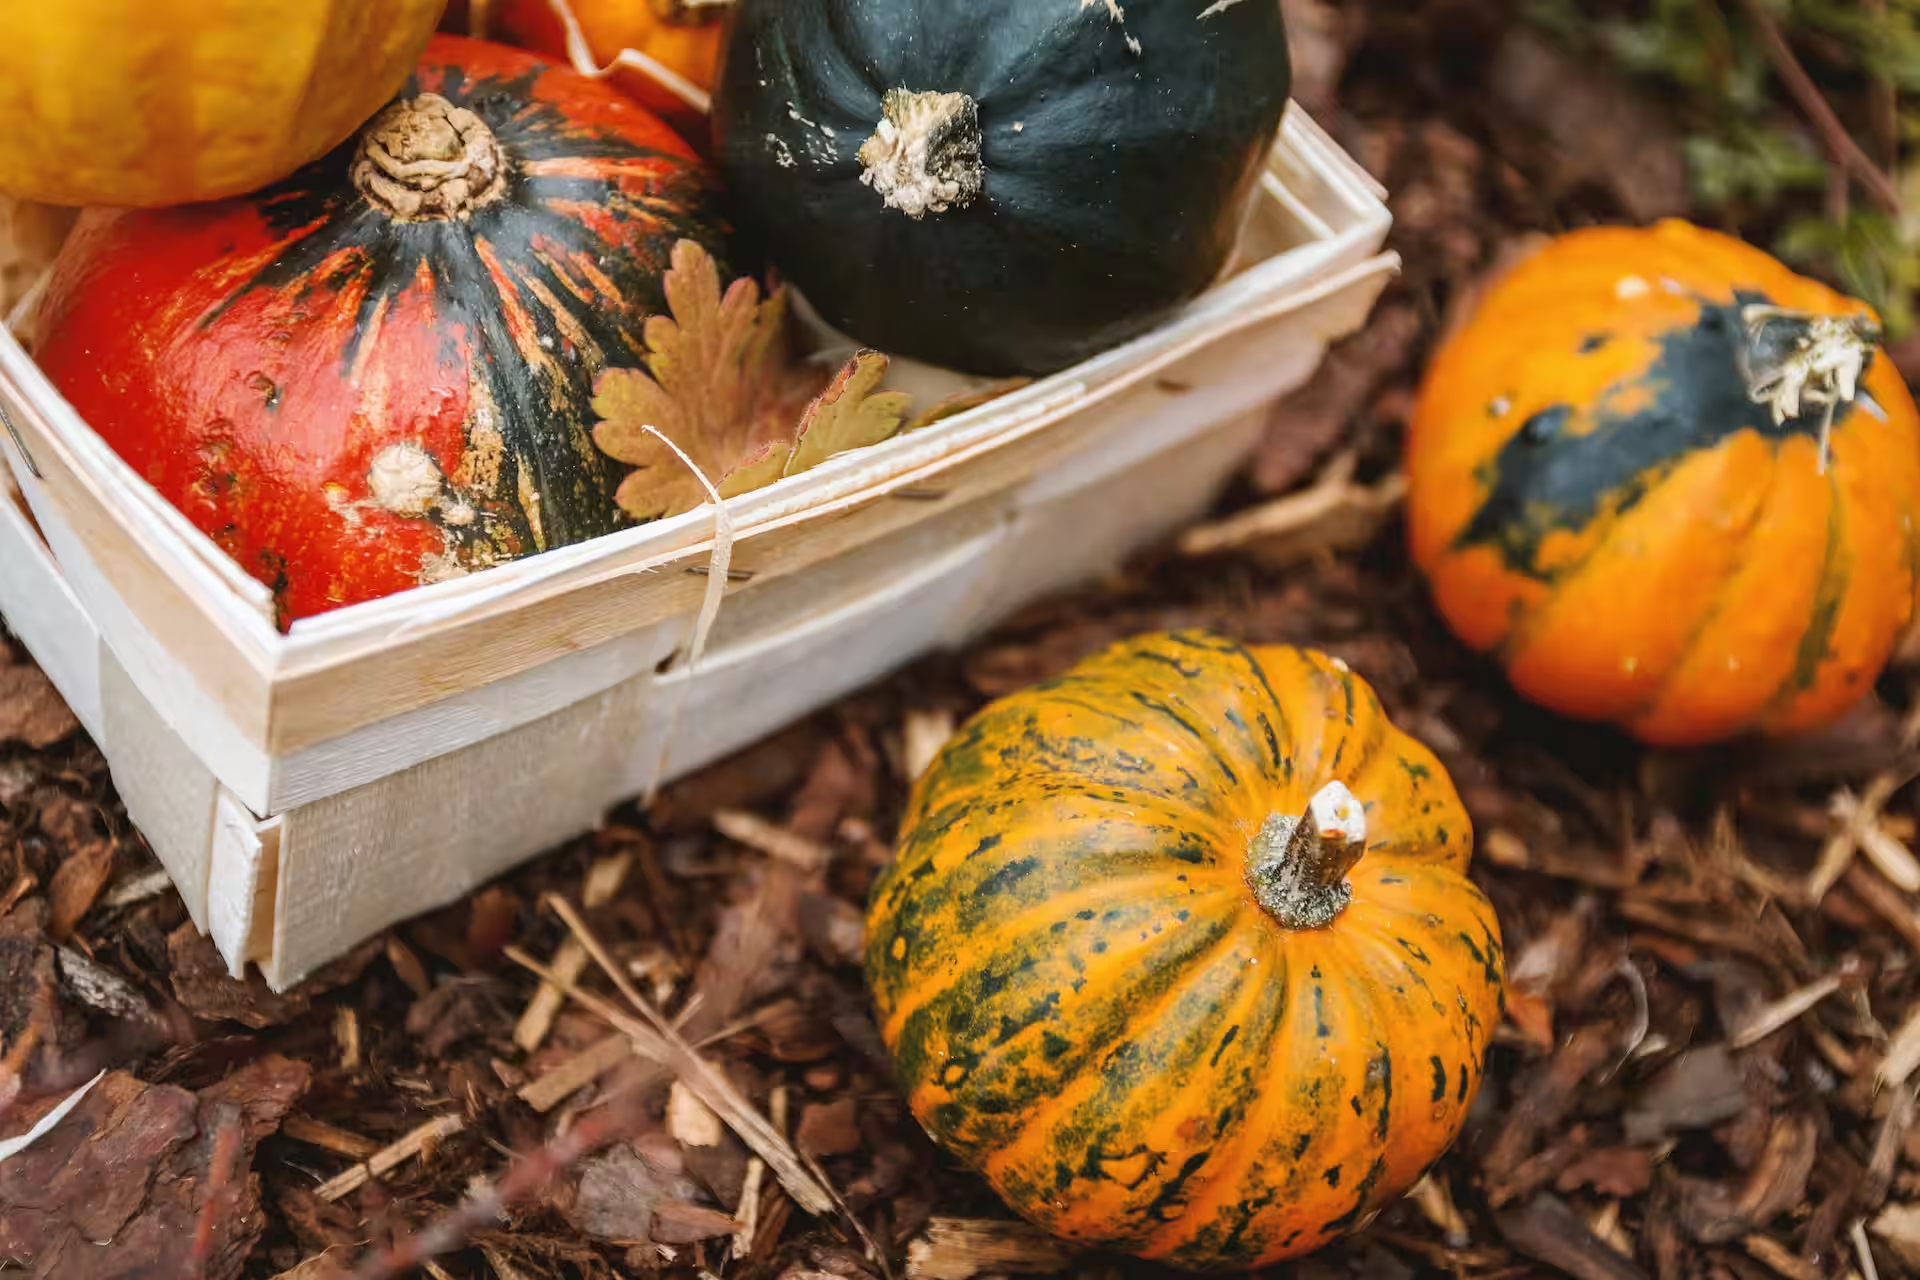
Pumpkins are vigorous annual vines grown for their large, colourful autumn fruits. They thrive in warm, sunny conditions and produce long, sprawling stems that can easily run several metres. Pumpkins are frost-tender and need a good, rich soil and consistent watering through summer. With enough warmth and space, they reward you with hard-skinned fruits that store well and are ideal for both cooking and seasonal decoration.
Growing Guide
Step-by-step instructions for growing Pumpkin
Planting Calendar
Growing Guide for
Change the guide to see different planting timelines and tips.
Grow smaller, flavourful pumpkins for cooking, using similar methods but with closer spacing and earlier harvest.
1 Sow Seeds Indoors
Sow seeds on their edge at a depth of in modules, keeping at . Germination takes 7-10 days; avoid early sowing to prevent root-bound seedlings.
2 Pot On Seedlings
Pot on into pots once two true leaves appear, using general-purpose compost. Maintain a temperature of in a bright location.
3 Harden Off Plants
Acclimatise plants outdoors over 10-14 days from 20th April - 27th April, increasing exposure gradually to toughen them up before transplanting.
4 Transplant Outdoors
Plant out after the last frost into enriched soil, spacing at apart. Water in well and consider using fleece for protection against cool nights.
5 Water and Feed Plants
Water regularly at the base to maintain moisture. Feed with a balanced fertiliser every 14 days from fruit set around 10th October to enhance flavour and yield.
6 Harvest Pumpkins
Harvest when fruits are fully coloured and the skin hardens, typically from 26th September - 24th October. Cut with a stalk and use fresh or store in a cool, dry place.
Companion Plants
Plants that grow well (or poorly) with Pumpkin
Good Companions
Plants to Avoid
Why Companion Planting Matters
Companion planting can help deter pests, improve pollination, enhance growth, and maximize garden space. Some plants release chemicals that repel pests or attract beneficial insects, while others can improve soil quality or provide shade for sensitive plants.
Suggested Varieties
Popular varieties of Pumpkin to consider
Jack O'Lantern
A classic carving pumpkin with a round shape and bright orange skin. It's widely available in UK garden centres and matures reliably in our shorter growing season.
Munchkin
This small variety produces numerous palm-sized fruits that are ideal for decoration or cooking. It's well-suited to UK gardens as it can be grown in containers and has good disease resistance.
Crown Prince
A popular grey-blue skinned pumpkin with sweet, dense orange flesh that stores well. It performs consistently in UK conditions and is favoured for soups and roasting.
Atlantic Giant
Known for producing very large pumpkins, this variety is grown by enthusiasts for competitions. It requires a long growing season but can succeed in the UK with careful site selection and feeding.
Baby Bear
A compact plant that yields small, flattened pumpkins with good flavour. It's recommended for UK gardens because it matures early and is less prone to mildew in damp weather.
Related Plants
Explore similar plants you might like
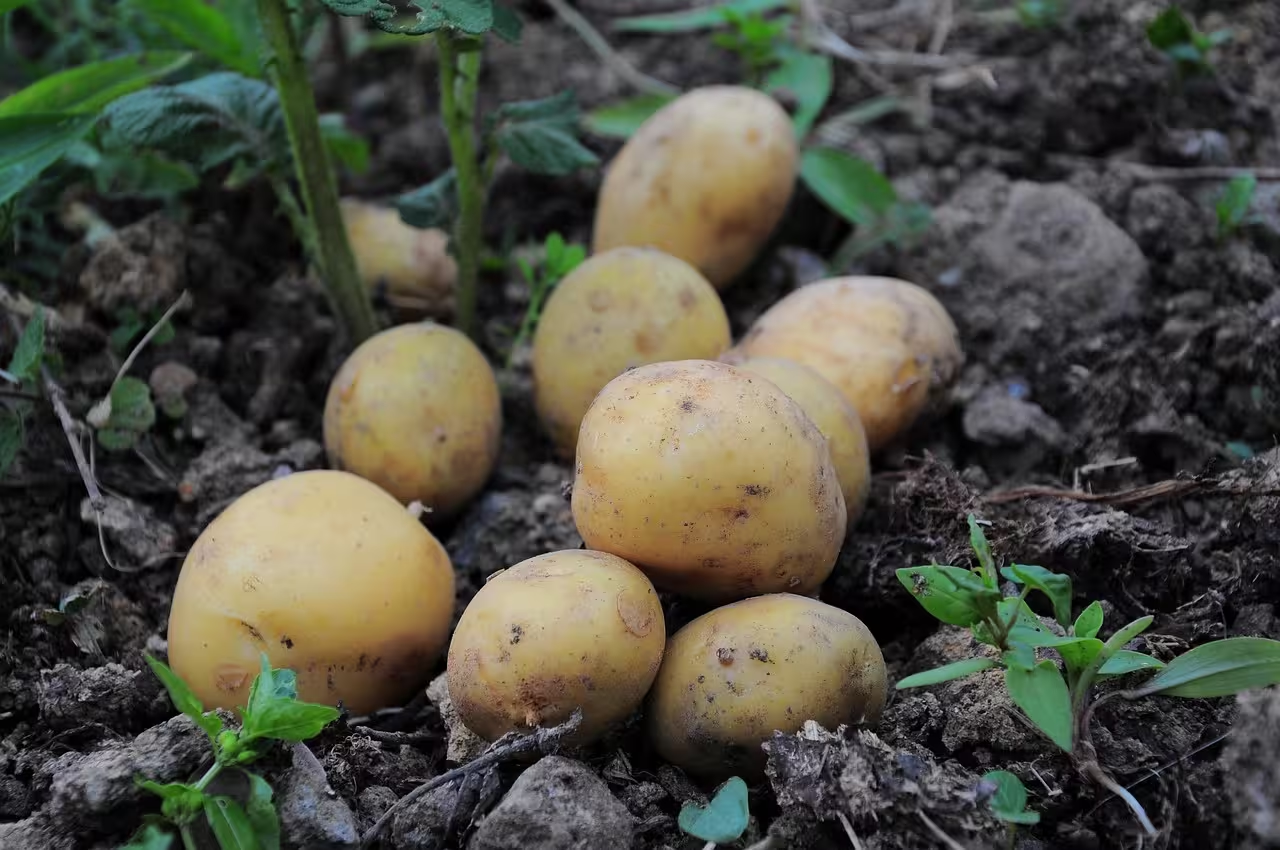
Potato
A staple root vegetable grown from seed potatoes, producing tubers underground. In the UK, potatoes are classified as first earlies, second earlies, or maincrop, each with different planting and harvesting times. They thrive in well-drained soil and full sun, and require earthing up to protect tubers from light.
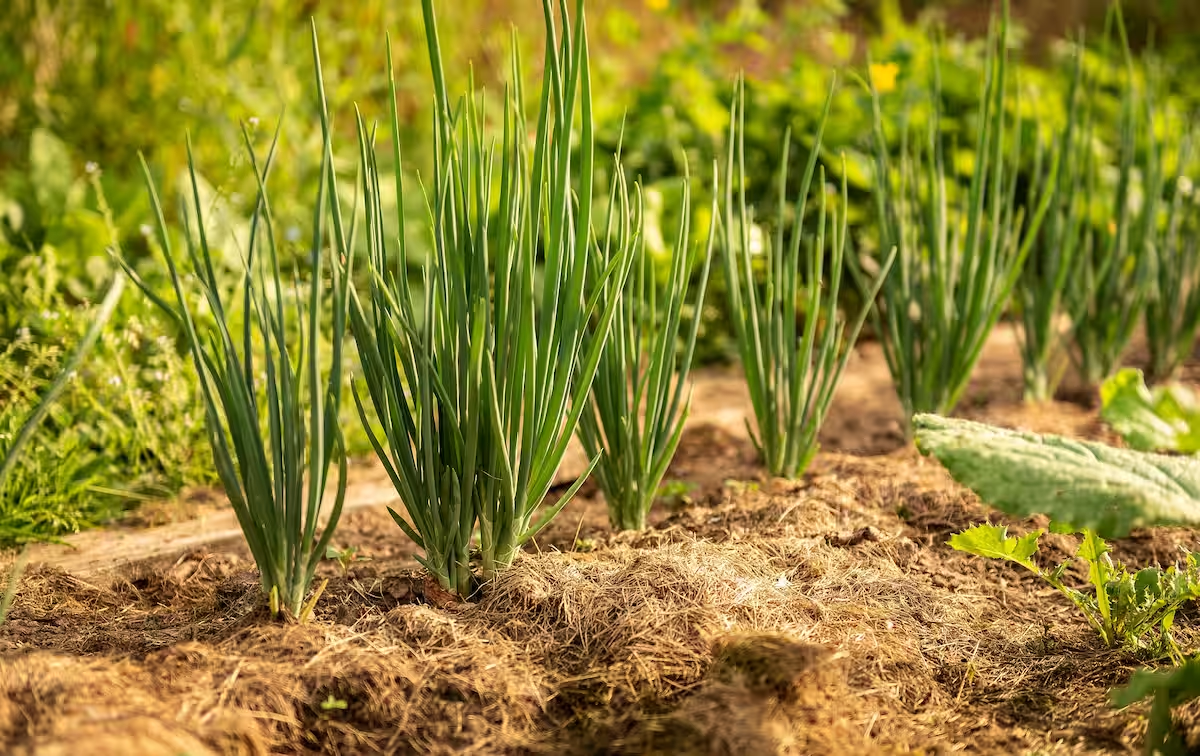
Spring Onion
Spring onions are fast-growing, mild-flavoured onions grown for their green stems and small bulbs. They are easy to grow and can be sown in succession for a continuous harvest. Hardy varieties can even be sown in late autumn to overwinter for an early spring crop. Spring onions don't take much space and grow well in containers or between slower-growing vegetables.
Squash
Squash come in summer and winter types, offering versatile fruits from tender courgette-like harvests to hard-skinned varieties that store through winter. They're vigorous plants that love sun and rich soil, producing colourful, flavourful crops perfect for roasting, soups, or stuffing. With trailing or compact options, there's a squash for every garden size.